By Dagna Courtman, Permanent Makeup Artist at Dagna Courtman Permanent Makeup And Beauty
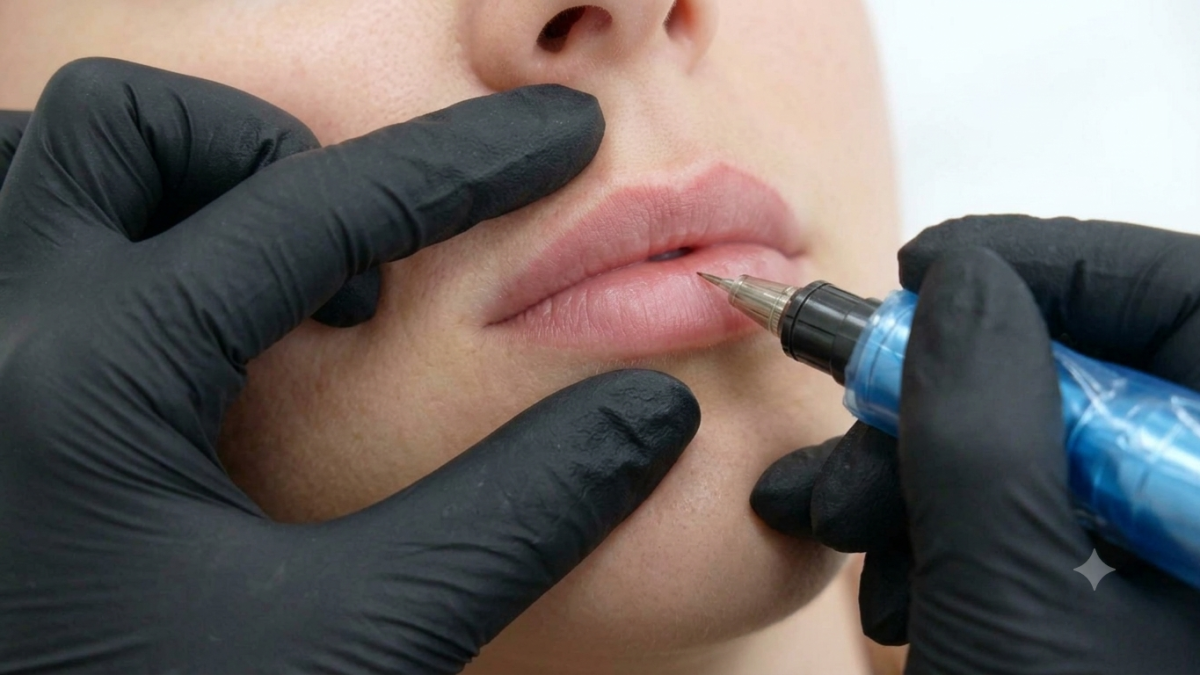
I use a rotary machine to deposit pigment into the upper dermis at a controlled depth, using precise strokes and light layers. I avoid the vermillion border, build colour gradually, and select pigments to complement the client’s natural lip tone. The healed result is softer than immediately after treatment, with a top-up appointment typically at six to eight weeks.
You’ve seen the results on social media and you’re tempted, but you want to understand what’s actually happening before someone puts a needle near your mouth. That’s a smart instinct. This article breaks down the lip blushing technique in plain language: needle depth, machine settings, stroke patterns, and how pigment is built up layer by layer to create a natural, lasting finish.
Why needle depth is the most critical variable
The lip blushing technique works by depositing pigment into the dermis, the stable layer of skin just beneath the surface. Go too shallow and the colour fades within weeks. Go too deep and you risk scarring, uneven healing, and a muddy result that’s difficult to correct.
For lip work specifically, needle depth typically sits between 0.5mm and 1mm. Lip skin is thinner and more vascular than the brow area, which means it bleeds more readily and pigment can migrate if the technique is too aggressive. I work at the conservative end of that range on the body of the lip, easing off further still near the vermillion border, where skin transitions and sensitivity peaks.
A key principle: consistent, controlled depth produces far better colour retention than pushing harder to compensate for an underpowered machine. The needle does the work; pressure doesn’t.
Machine settings and why they matter for colour deposit
Most modern lip tattoo work is done with a rotary machine rather than a coil machine. Rotary machines offer quieter operation, less trauma to the tissue, and more precise speed control, all of which matter when you’re working on a sensitive area with fine detail requirements.
Needle speed, measured in volts or hertz depending on the machine, directly affects how the pigment deposits. A lower speed gives more control and is better suited to building subtle colour gradually. A higher speed increases efficiency but raises the risk of over-working the skin, which causes trauma, swelling, and ultimately patchy healed results.
I use a single needle or a 3-round liner configuration for most lip blush work. The single needle is ideal for precise outlining along the natural lip line, while the 3-round allows slightly faster, even saturation across the body of the lip. Neither is universally correct: the choice depends on the client’s lip texture and the level of definition they want.
Stroke patterns and how the shape is built
How the needle moves across the lip is just as important as how deep it goes. There are two primary approaches: circular motions and linear strokes. I typically use a combination of both depending on the area.
Along the lip line itself, short, precise linear strokes give the cleanest edge definition. This is where the natural shape is either followed or subtly refined. I never tattoo on the vermillion border itself, the raised ridge that separates lip from skin, because working directly on that line carries a real risk of pigment migration and visible blurring over time. Instead, the colour is brought right up to it from inside the lip.
Across the body of the lip, soft circular or stippling motions blend pigment more evenly and avoid the streaked appearance that linear-only technique can produce. The goal is an even, gradient-like saturation that mimics how natural lip pigment is distributed: slightly deeper in colour at the centre and softer toward the edges.
Pigment layering: why two passes beat one heavy session
A common misconception is that a single, saturated pass will produce the deepest, longest-lasting result. In practice, over-saturating in one session overwhelms the tissue. The skin can only absorb so much pigment at once before it begins to push it back out during healing.
The professional approach is to build colour in light layers, assessing saturation as you go. The first pass lays down a base tone. After the skin is wiped clean and assessed, a second pass targets any areas that are lighter or less even. On some clients with naturally drier or more textured lip skin, a third light pass across the whole lip ties everything together.
Pigment choice matters enormously here. For the lip blushing technique, I work with pigments that complement the client’s natural lip tone rather than working against it. A nude-pink on very pigmented lips will heal differently than the same shade on lighter lips. Pre-planning the pigment mix is part of the consultation, not an afterthought on the day.
The healed result is always softer than what you see immediately after the appointment. Expect to lose 30 to 50 percent of apparent colour intensity during the healing process, which is why the top-up appointment, typically at six to eight weeks, is built into the process rather than being optional.
Frequently Asked Questions
How deep does the needle go during a lip blush treatment?
During a lip blush treatment, the needle typically penetrates between 0.5mm and 1mm into the skin, targeting the upper dermis. Lip skin is thinner than most facial areas, so working at the shallower end of that range reduces the risk of migration and ensures a clean, natural healed result.
What type of machine is used for the lip tattoo method?
Most practitioners use a rotary tattoo machine for lip work. Rotary machines cause less tissue trauma than coil machines, offer precise speed control, and are quieter, all of which make them better suited to the sensitivity of lip skin and the fine detail the lip tattoo method requires.
Will the colour look the same after healing as it does immediately after the appointment?
No. Freshly tattooed lips appear significantly more intense than the healed result. You can expect to lose 30 to 50 percent of apparent colour intensity as the skin heals and regenerates. This is normal and expected, which is exactly why a top-up session at six to eight weeks is a standard part of the process.
Why is the vermillion border avoided during lip blushing?
The vermillion border, the raised ridge where lip skin meets facial skin, is highly prone to pigment migration if tattooed directly. Over time, colour deposited on this line can blur outward, creating an uneven edge. Skilled lip blushing technique brings colour right up to the border from inside the lip, not across it.
How does pigment layering improve the final result of a lip blush treatment?
Building colour in two or three light passes allows the skin to absorb pigment evenly without being overwhelmed. A single heavy pass often results in patchy healing because the tissue pushes excess pigment out. Layering gives more control over tone, saturation, and the gradient effect that makes lip blush look natural rather than solid or flat.
How do you choose between a single needle and a 3-round liner for lip blush?
I choose the configuration according to the client’s lip texture and desired definition. I use a single needle for precise outlining along the natural lip line, while a 3-round liner allows slightly faster, even saturation across the body of the lip. Neither option is universally correct for every client.