By Dagna Courtman, Permanent Makeup Artist at Dagna Courtman Permanent Makeup And Beauty
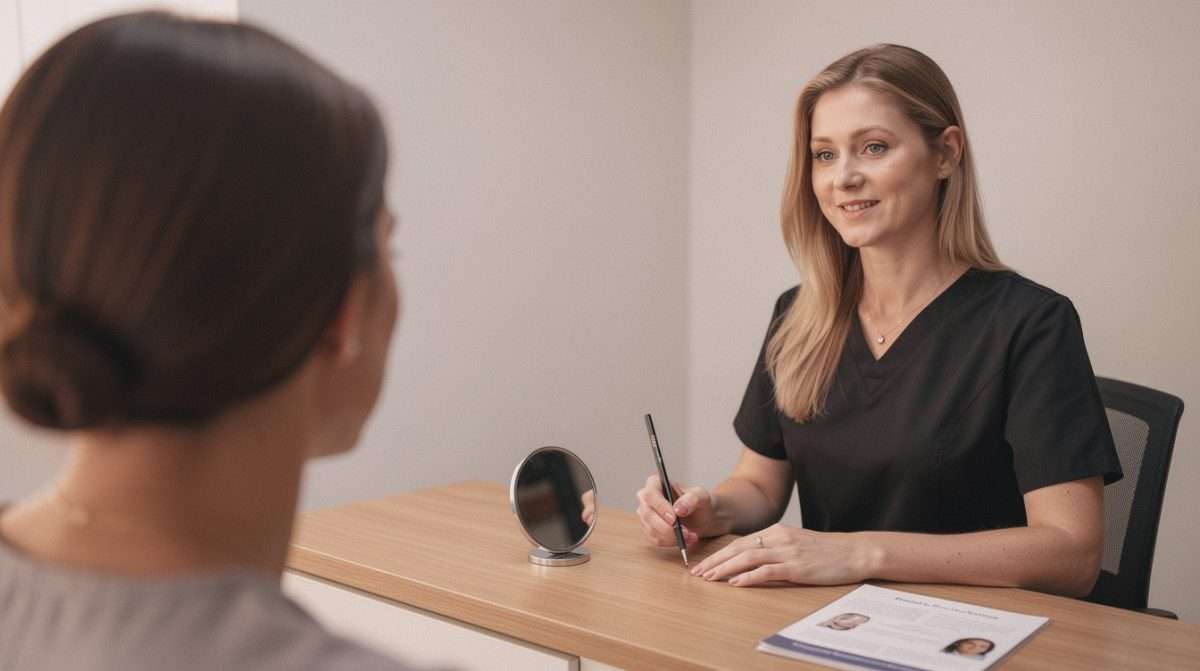
I use the consultation to review your medical history, skin, lifestyle, natural brows and desired look before making design decisions. I assess your facial proportions, map a proposed shape, discuss pigment colour, complete a patch test at least 48 hours before treatment, answer your questions, and explain preparation and healing expectations.
You’ve done your research, saved your inspiration photos, and you’re seriously considering ombre brows. But you’re not entirely sure what happens before the treatment itself, or what you should be asking. This article walks you through a first powder brows consultation from start to finish, so you arrive prepared and leave with a clear picture of the process.
What a powder brows consultation actually covers
A consultation for powder brows is a proper working conversation, not a quick formality. It’s where your practitioner builds a complete picture of your skin, your lifestyle, and the look you’re after before any design decisions are made.
Expect to cover your medical history in detail. Certain medications, skin conditions, and treatments such as retinol use or recent chemical peels can all affect how pigment sits in the skin and how well it heals. Being honest here isn’t just advisable; it directly shapes the result you’ll get. I ask every client about these factors as a matter of course, because a safe treatment is always more important than a rushed one.
Your natural brow hair, bone structure, and facial symmetry are assessed carefully at this stage too. Ombre brows use a machine to place fine dots of pigment in a gradient pattern, building a soft powder-filled finish that mimics the look of brow makeup. The technique is versatile enough to work with very sparse brows, completely bare skin, or even to cover faded microblading or old semi-permanent work that has healed unevenly.
The design process: mapping your brows before any pigment is used
Brow mapping is one of the most important parts of the entire eyebrow tattoo consultation. Using precise measurements based on your facial proportions, your practitioner will draw the proposed brow shape directly onto your skin with a removable pencil before anything permanent happens.
This is your opportunity to see the shape, question it, and request changes. A good practitioner will not rush this stage. The arch placement, the tail length, the overall thickness: all of it should feel right to you before you agree to move forward. Bring your inspiration images to this appointment; they help enormously in aligning your expectations with what’s achievable for your specific face shape and natural hair pattern.
Pigment colour selection also happens during mapping. Your skin tone, hair colour, and undertones all influence which shade will heal most naturally. A colour that looks perfect on someone else’s brow board may heal quite differently on your skin, so this is a conversation worth having carefully rather than quickly.
Patch testing and why it matters
Before your ombre brows appointment is confirmed, a patch test is standard practice. A small amount of pigment is applied to a discreet area of skin, typically behind the ear or on the inner arm, at least 48 hours before your treatment date.
Allergic reactions to cosmetic pigments are uncommon but not impossible. A patch test eliminates that uncertainty before it becomes a problem mid-treatment. If you’ve previously had reactions to cosmetic tattooing, hair dye, or topical anaesthetics, mention this at your consultation. These details change the approach, and a practitioner worth trusting will want to know them.
Some clients are surprised to learn that numbing cream is used during the procedure itself. Your practitioner will explain how and when this is applied, and the patch test stage is also a good moment to flag any sensitivity to topical anaesthetics if you’ve experienced one before.
How to prepare for your ombre brows appointment
Once your consultation is complete and your patch test has cleared, there are specific steps that will protect your result. Avoid alcohol for at least 24 hours beforehand, as it thins the blood and affects how the skin holds pigment. Sun-damaged skin and recent tanning also affect pigment retention, so keep the brow area out of direct sun in the week leading up to your appointment.
Stop using retinol or exfoliating acids on the brow area for a minimum of two weeks before your treatment date. These products accelerate skin cell turnover, which means pigment placed into recently exfoliated skin is more likely to fade unevenly during healing. Your practitioner will give you a written aftercare list specific to your skin type, but these preparation steps apply broadly across all powder brows clients.
Come to your appointment with clean skin, no brow makeup, and a realistic sense of what the healing process involves. The initial result will look darker and more defined than the finished, healed outcome. Most clients see the true colour settle between four and six weeks after treatment, when a colour refresh or touch-up appointment can be scheduled if needed.
Frequently Asked Questions
How long does a powder brows consultation take?
A thorough powder brows consultation typically takes 30 to 60 minutes. This allows enough time to review your medical history, assess your natural brows, complete the mapping process, discuss pigment colour, and answer any questions you have before committing to a treatment date.
Do I need a patch test before my ombre brows appointment?
Yes. A patch test is carried out at least 48 hours before your ombre brows appointment to check for pigment sensitivity. It’s a small but important step. Even if you’ve had brow treatments before, a patch test should still be performed when you’re seeing a new practitioner or using a different pigment brand.
Can powder brows cover my old microblading?
In many cases, yes. The powder brows technique can be used to soften, correct, or cover faded microblading and old semi-permanent eyebrow work. The consultation is where your practitioner assesses the existing pigment, checks how it has healed, and advises on what’s achievable before any new work begins.
What questions should I bring to an eyebrow tattoo consultation?
Useful questions to ask at an eyebrow tattoo consultation include: how long will the result last on my skin type, what does the healing process look like week by week, how many sessions will I need, what aftercare is required, and what happens if I’m not happy with the shape after healing.
What should I avoid before my powder brows appointment?
In the two weeks before your powder brows appointment, avoid retinol and exfoliating acids on the brow area. In the 24 hours before, skip alcohol and caffeine. Avoid sun exposure on the brow area and do not wax or thread within a week of your treatment date, as this can sensitise the skin.
How do you choose the pigment colour for my powder brows?
I consider your skin tone, hair colour and undertones when discussing pigment colour. I explain that a shade that looks suitable on someone else may heal differently on your skin. Colour selection takes place during the mapping process, so we can consider the proposed shape and the most natural healed result together.